Kobo Setup
KoboCollect Setup Guidance
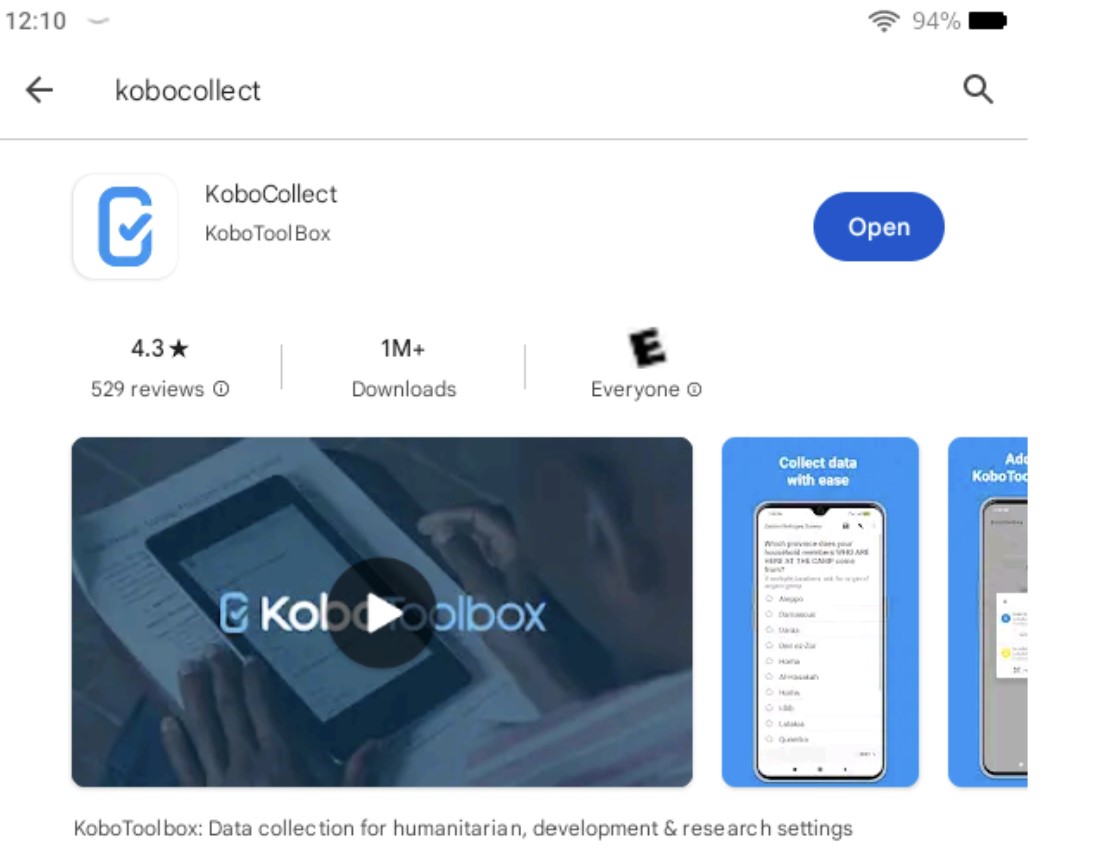
- Download KoboCollect from the GooglePlay store.
Open the app, and select “Manually enter project details.” Instructions on setting up via QR code can be found here.
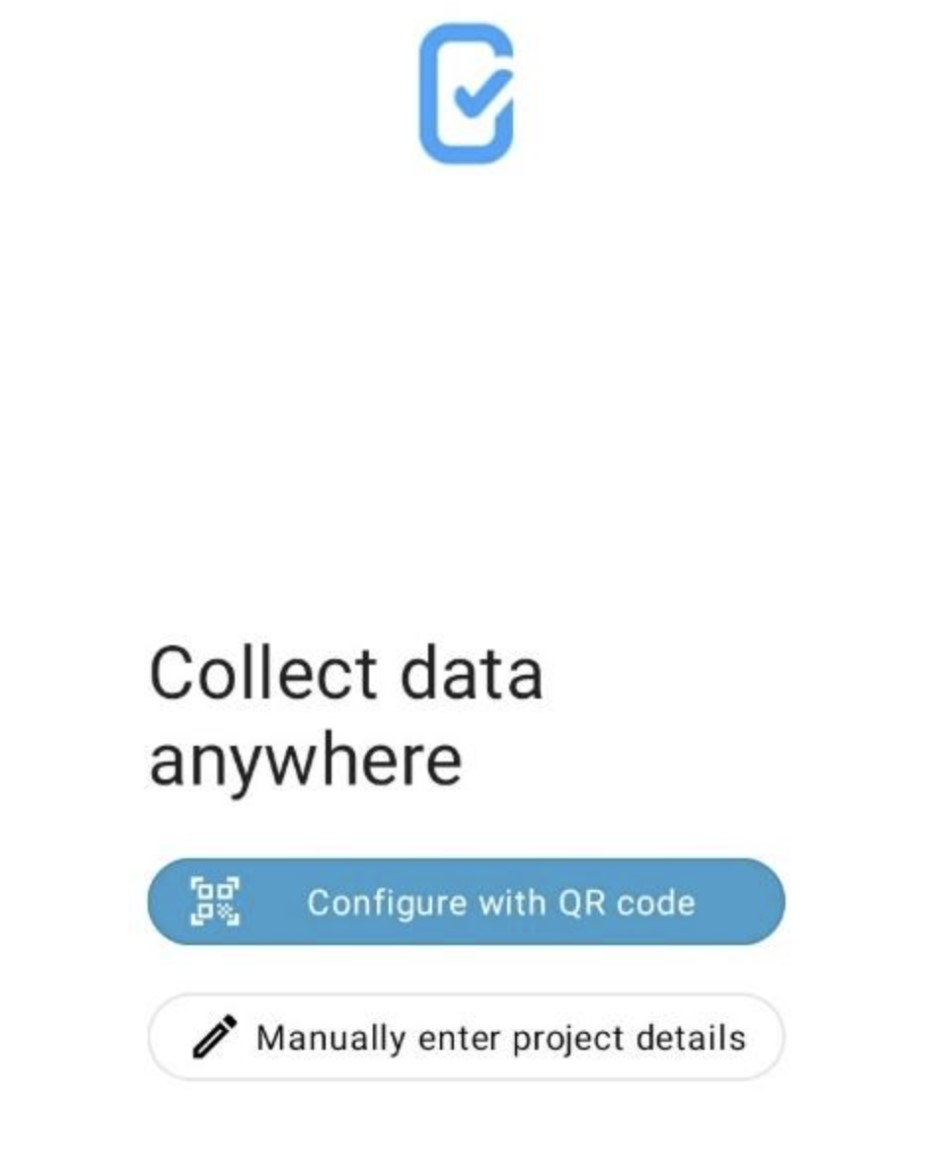
Set up the server connection and enter login credentials. Use the general server: https://kc.kobotoolbox.org
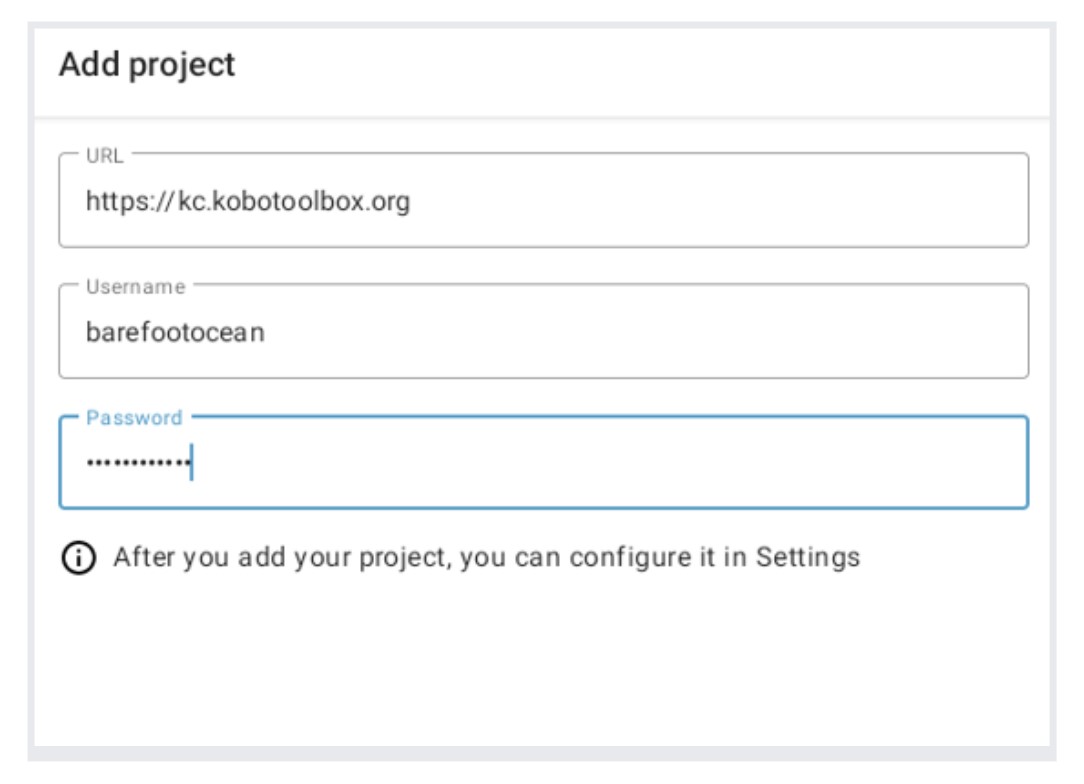
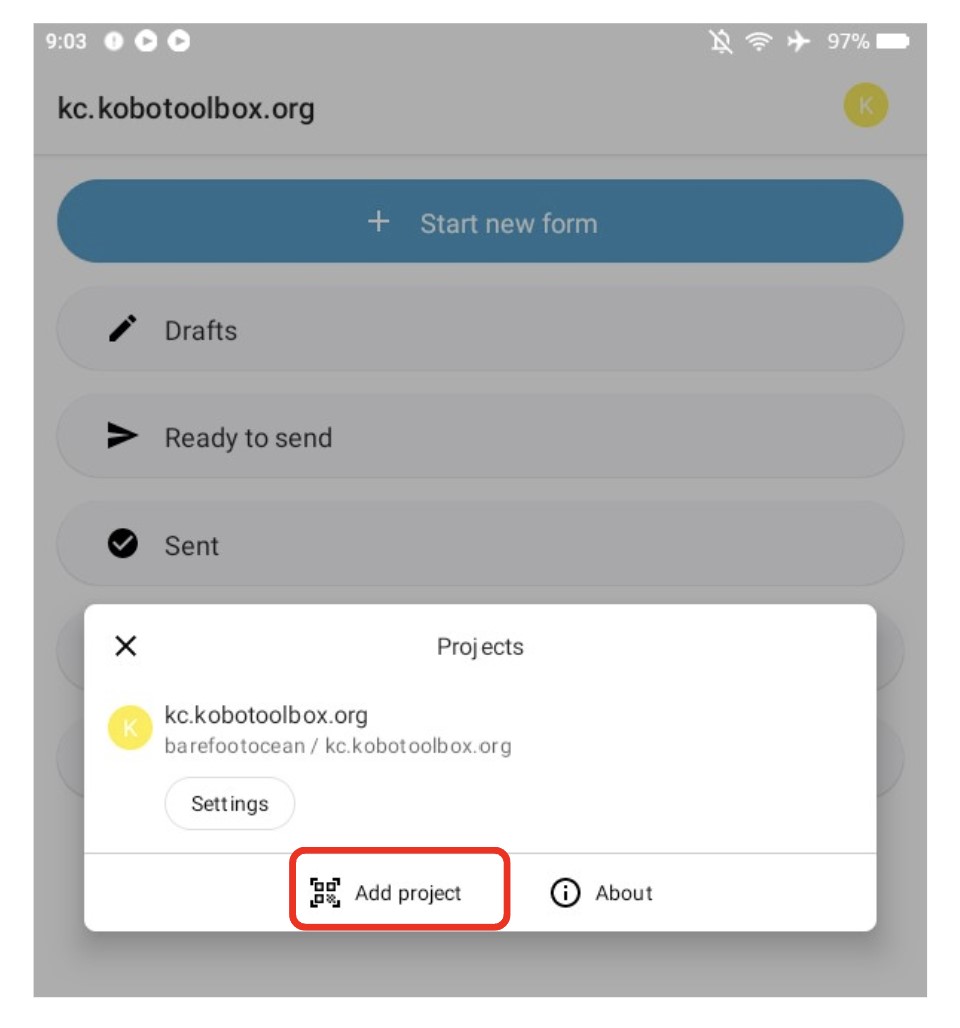
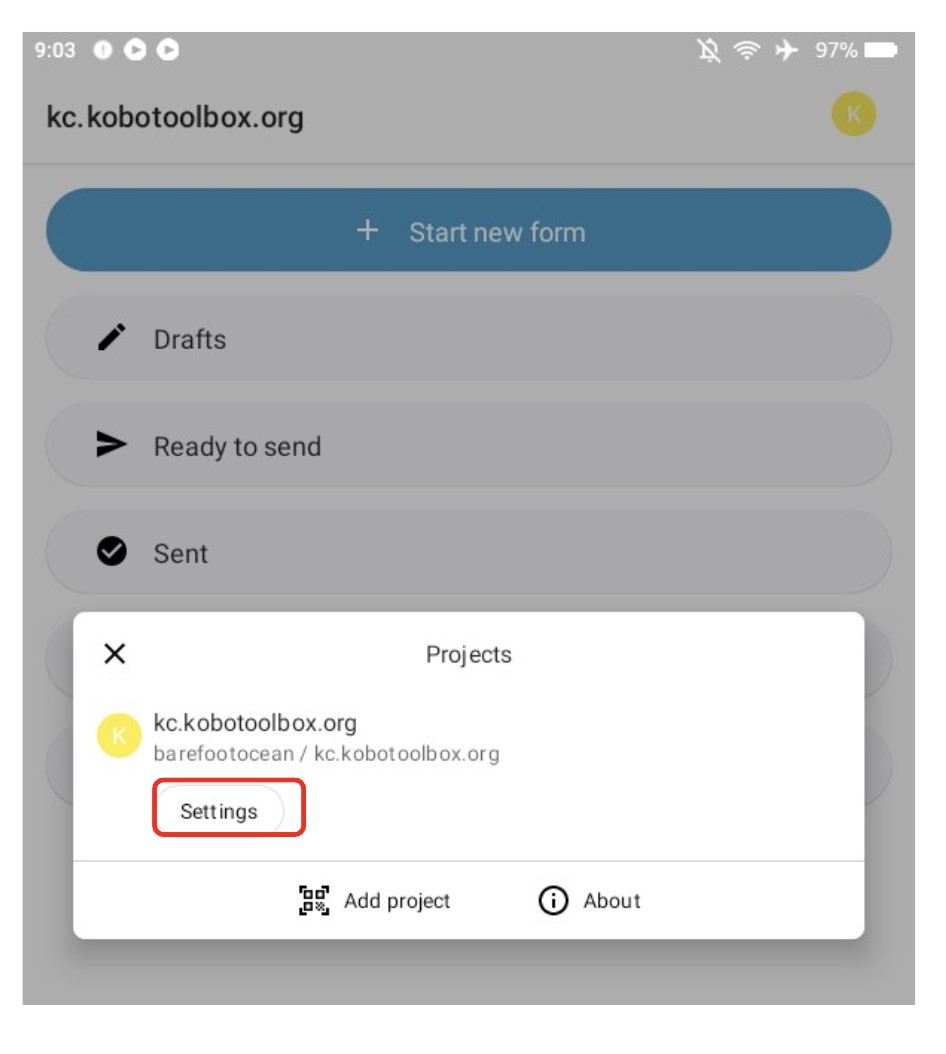
If you already have Kobo downloaded, and want to add another account to the app, select your user icon in the top right corner of the screen. Select “Add Project.” From there, you can manually enter project details, or use a QR code.
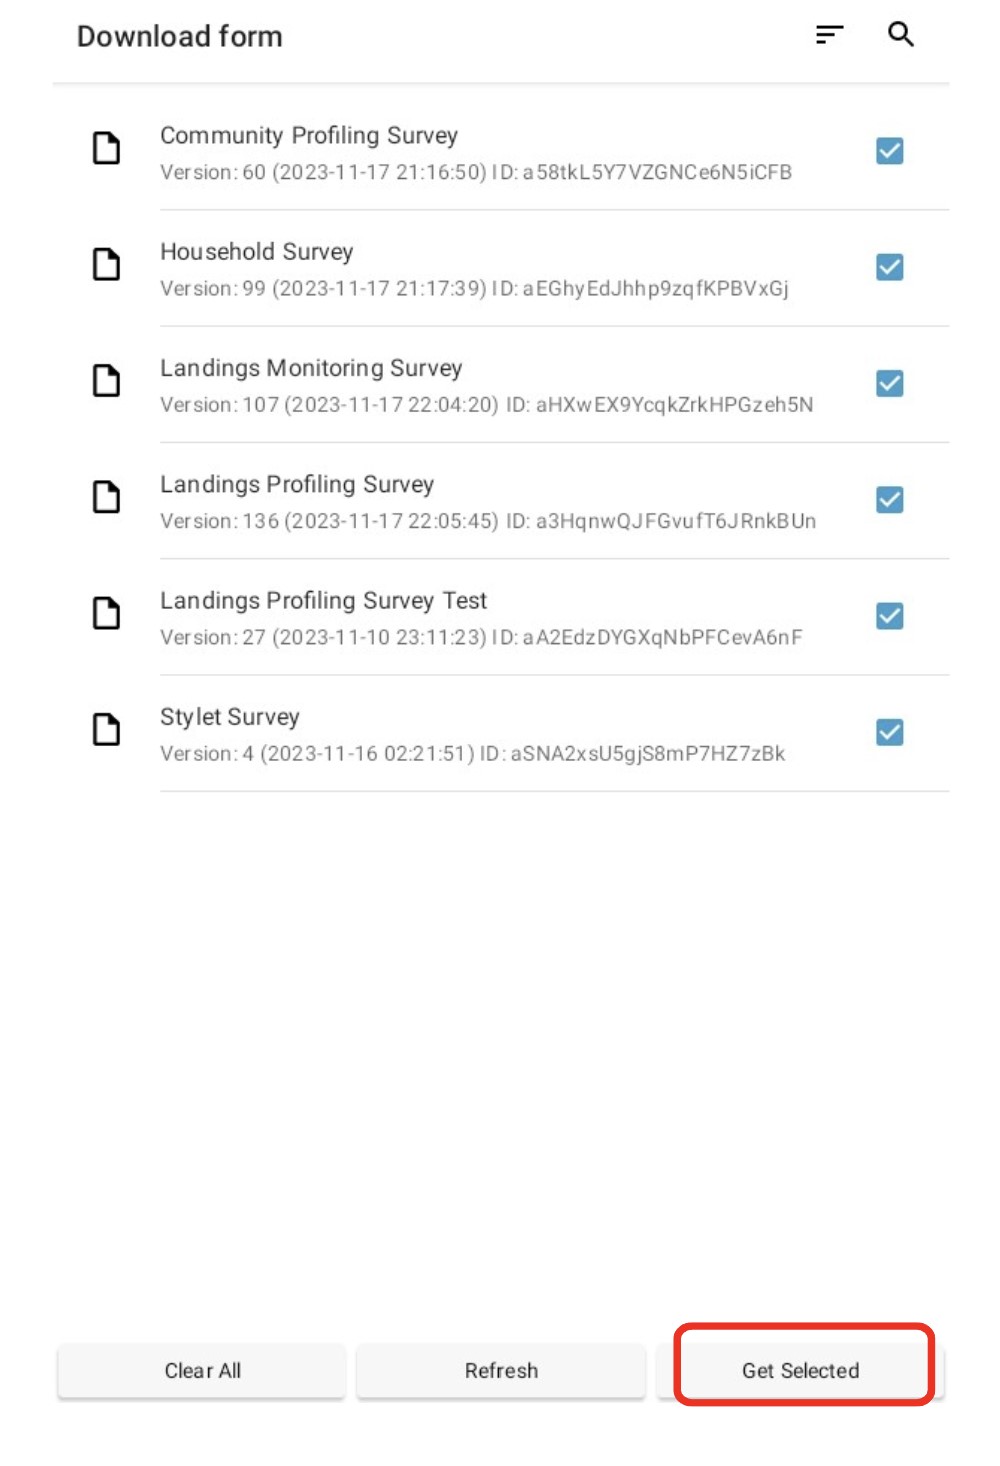
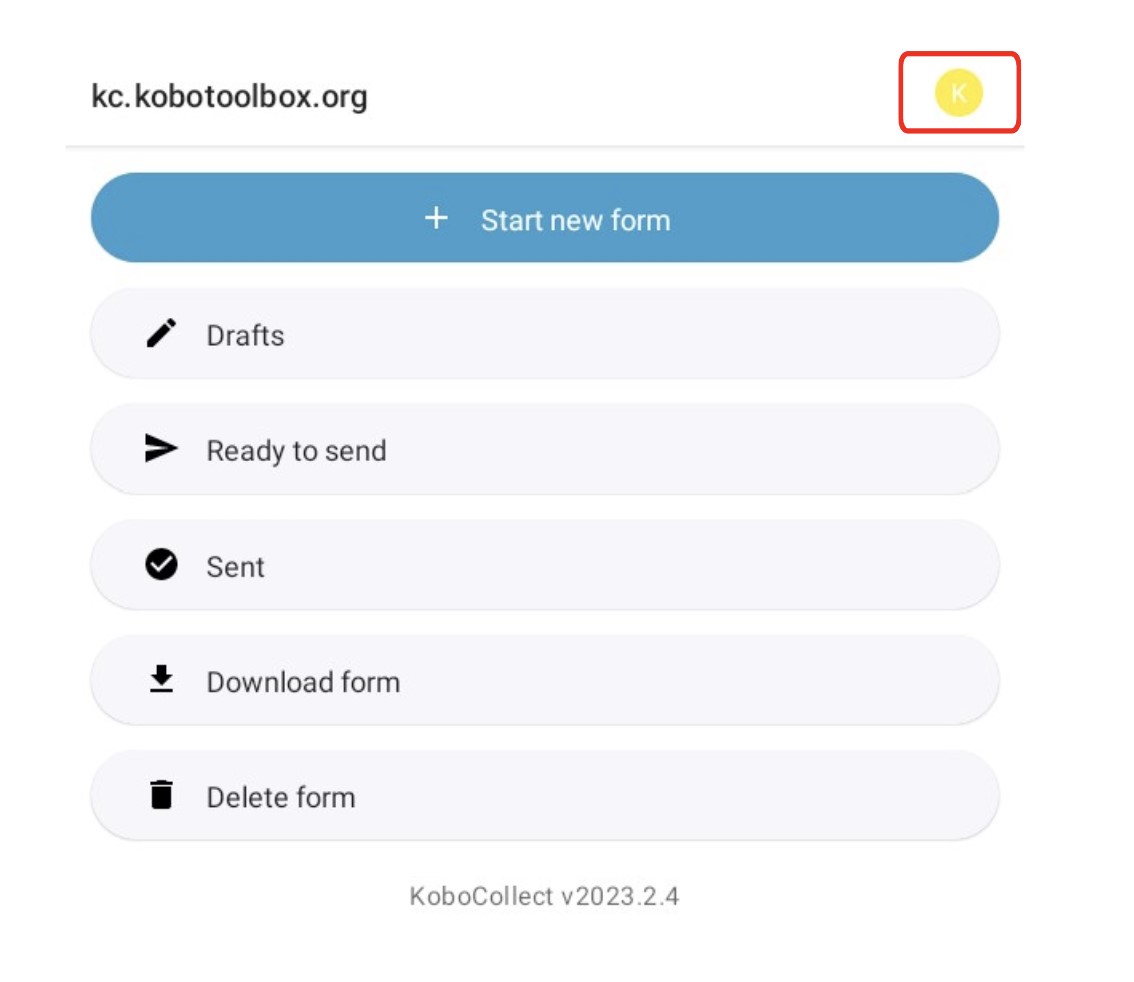
After setting up the server, select “Download form” from the home screen. A list of all survey forms shared with your account should appear.

Select all the survey forms shared with your account, or select the ones you wish to have by selecting them manually. Then, click “Get Selected.” Kobo will then connect to the server to fetch all forms. This requires an internet connection.
Set up “auto-update” to ensure the surveys in the app stay up to date when changes are made (steps 8-13). If the most recent version of the survey is not being used, this will cause issues in the data pipeline and database.
Click on your user icon in the top right corner.
Click on settings.
Once there, click on “Form Management.”
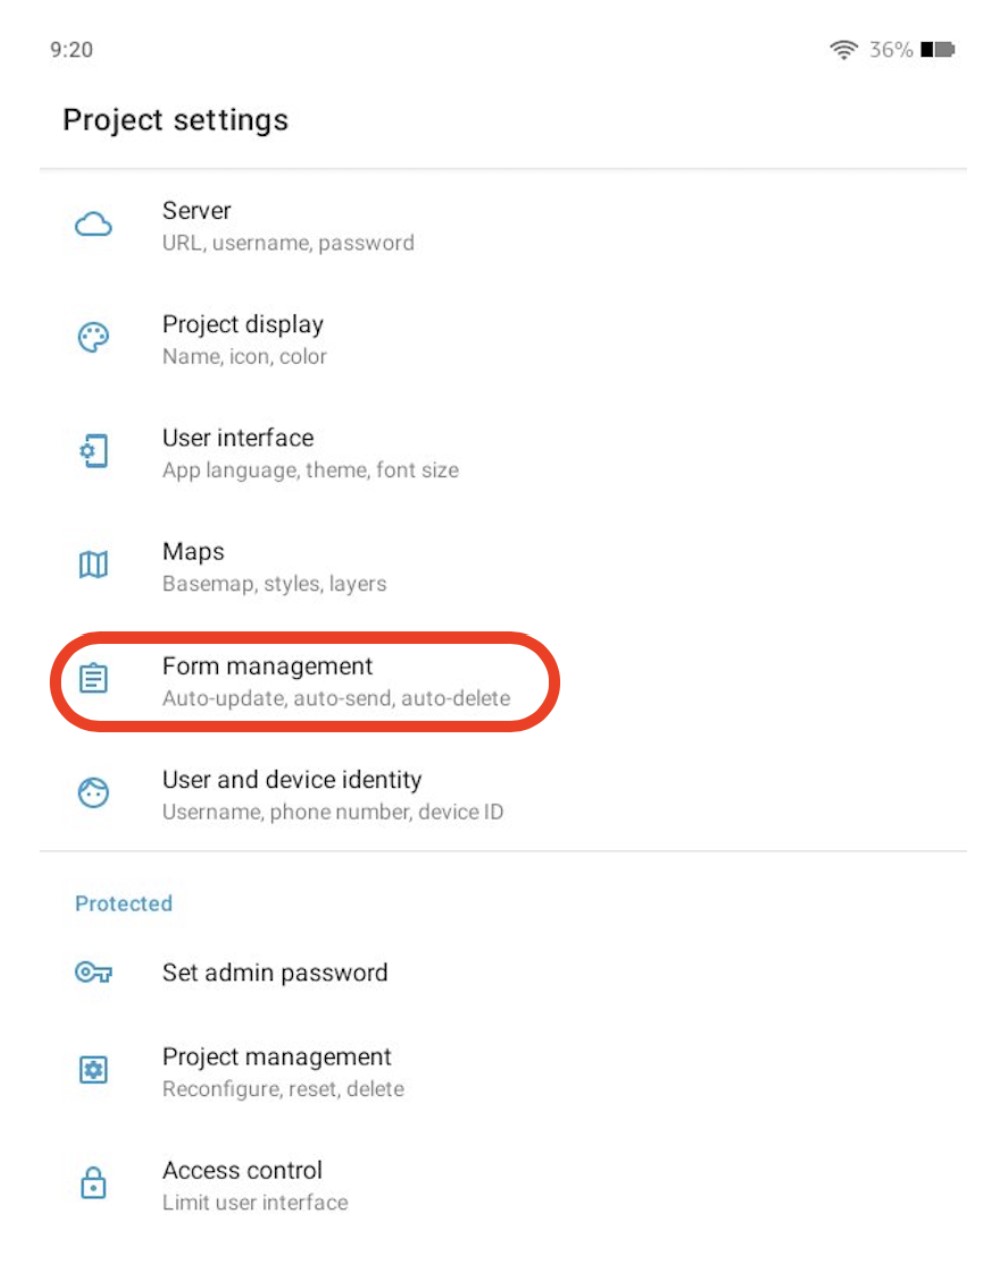
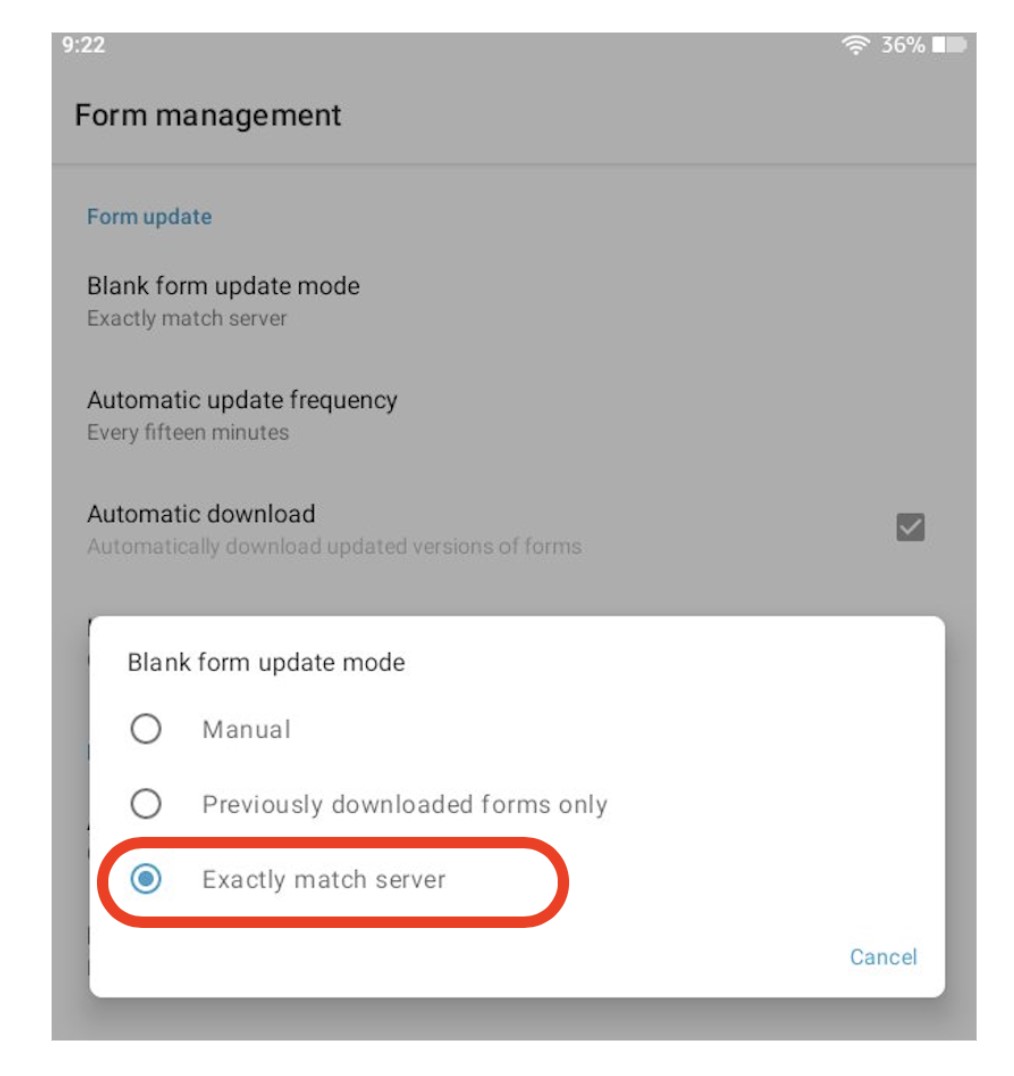
Then, click on “Blank form update mode.”
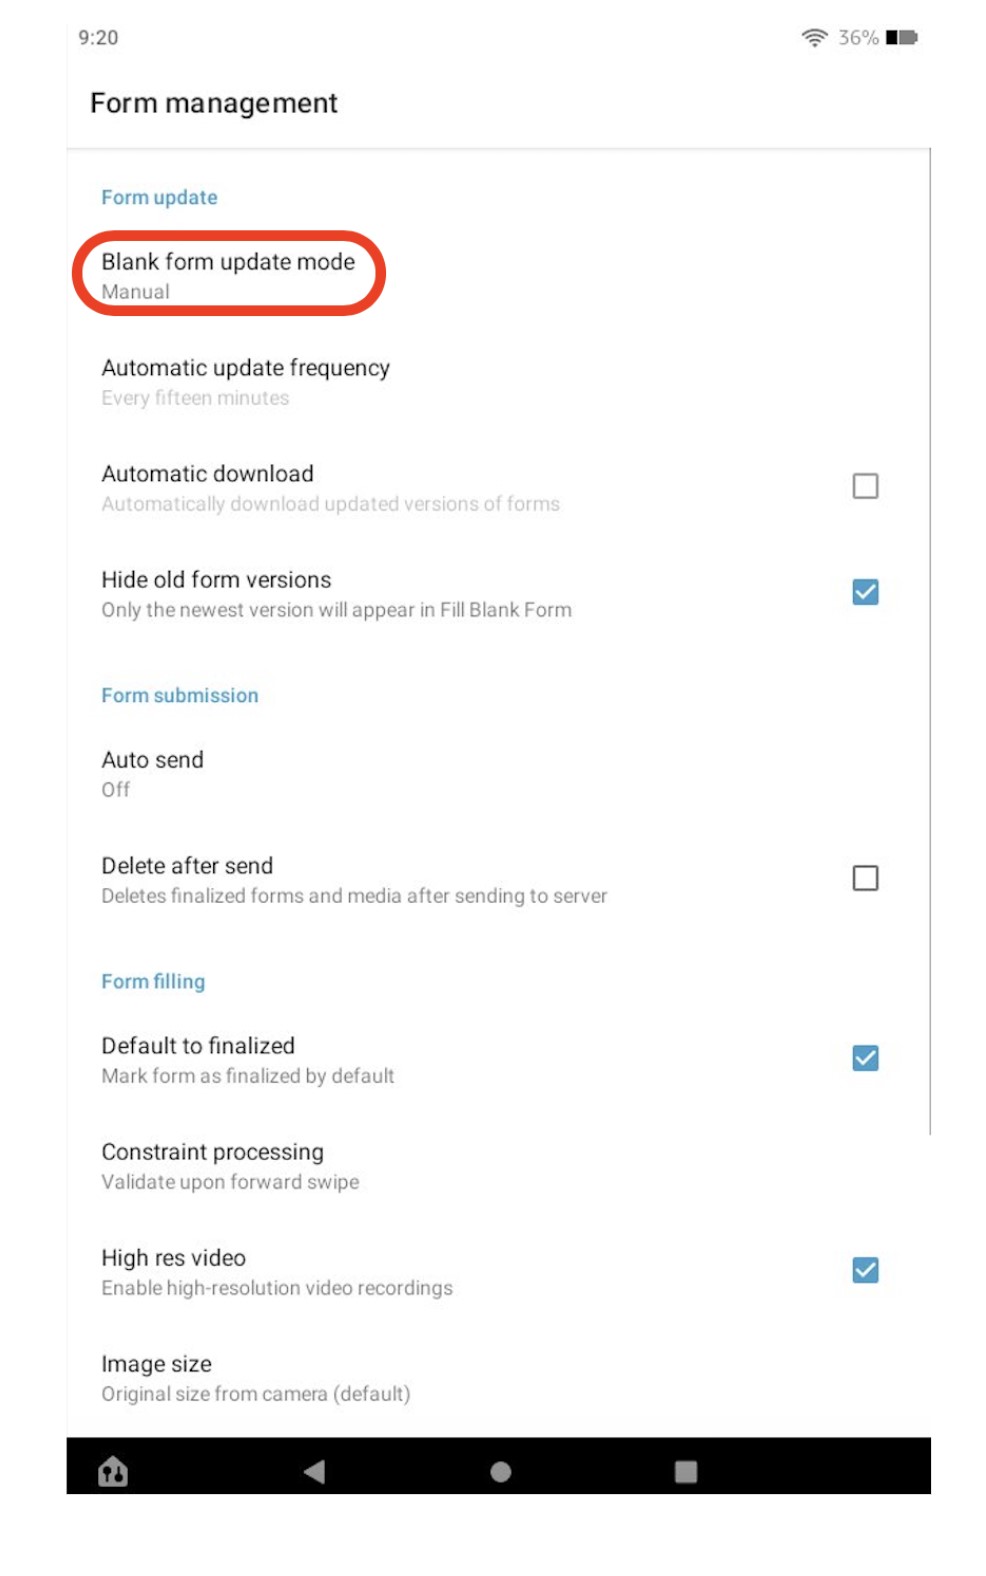
Select “Exactly match server.” This will ensure the survey is updated to the most recent version.
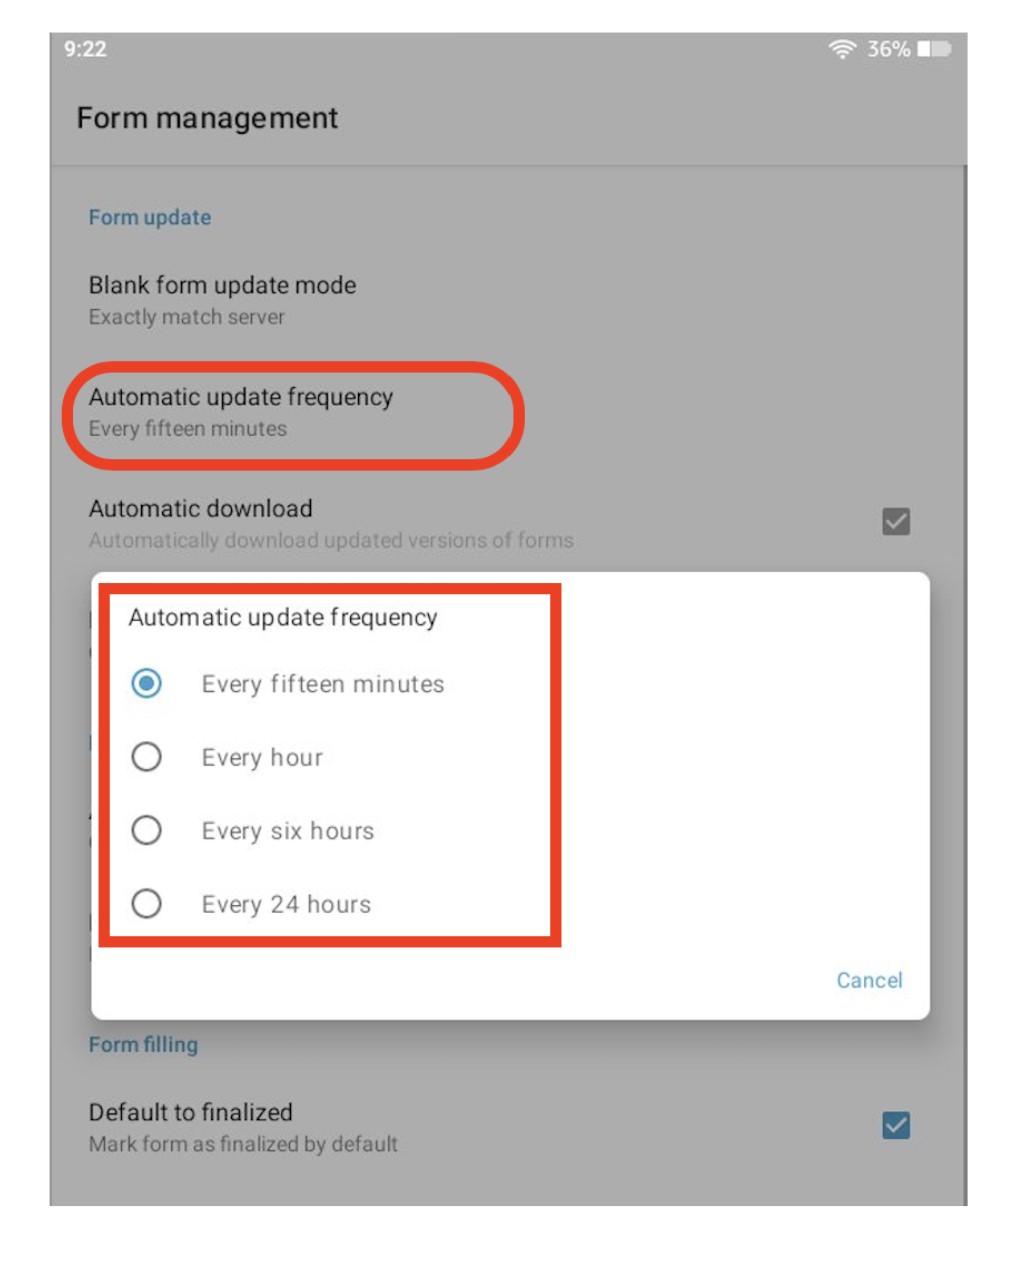
Lastly, select “Automatic update frequency” and then choose one of the frequencies.
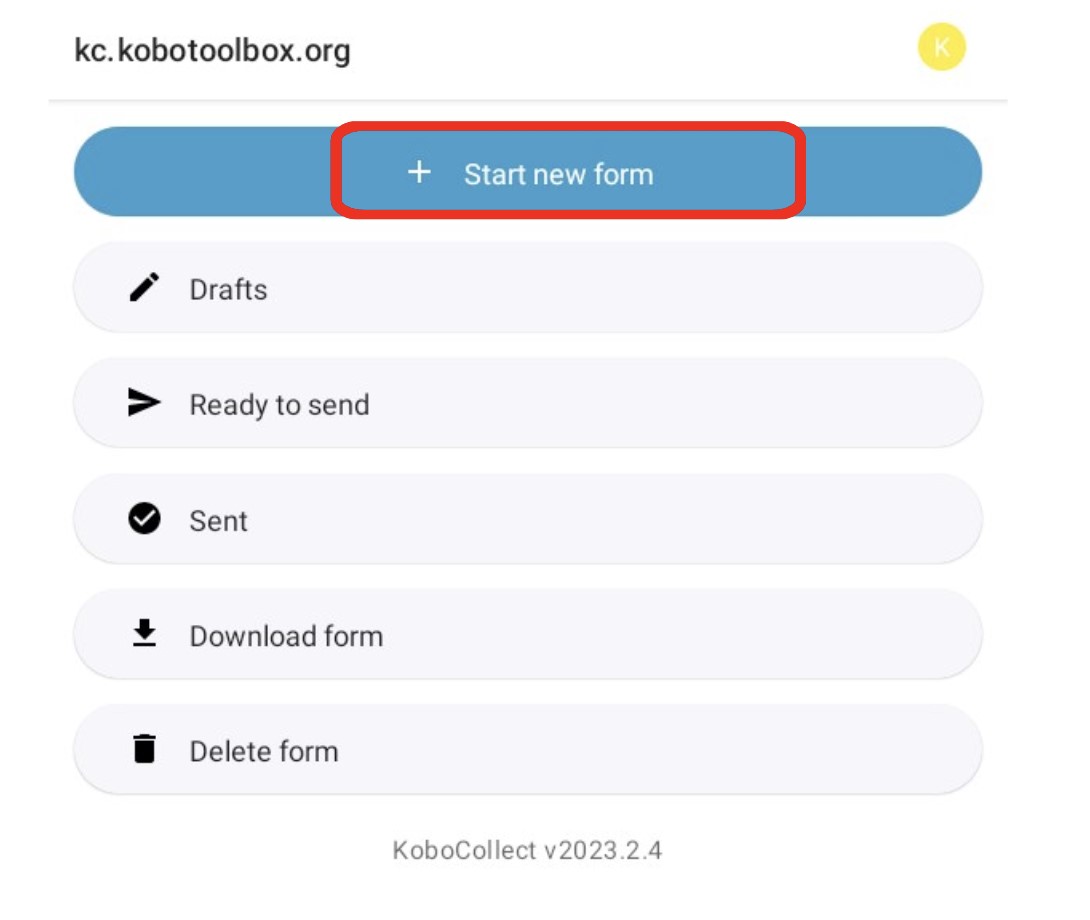
Navigate back to the home screen. To collect data, select “Start new form.”
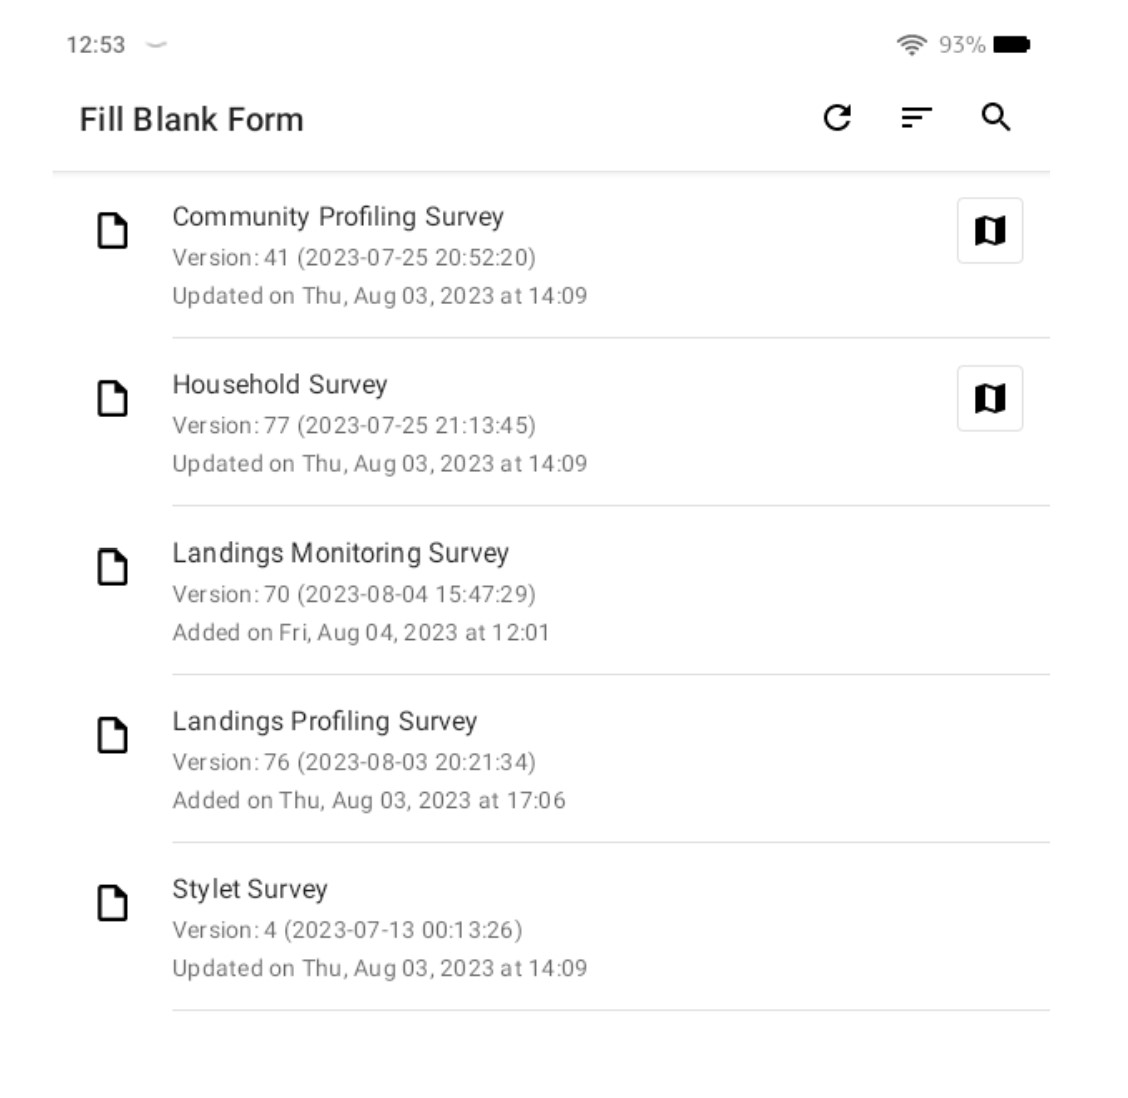
Then, select the survey form that you want to use to start collecting data.
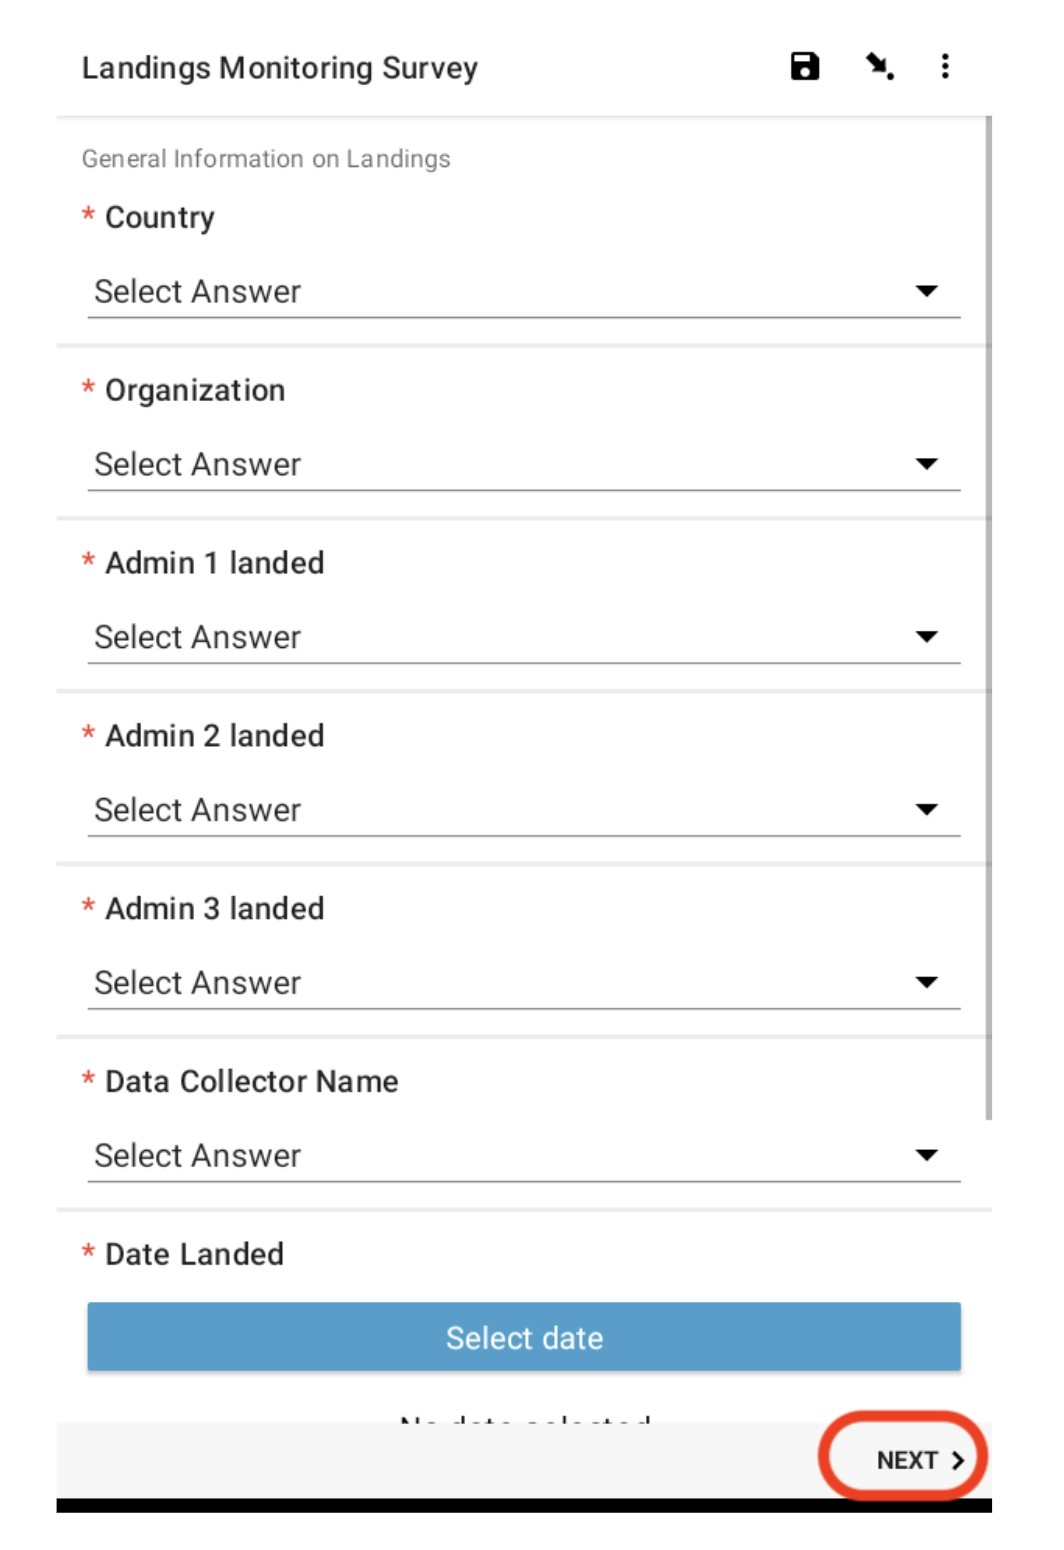
Go through all the questions in the survey by selecting the NEXT key.
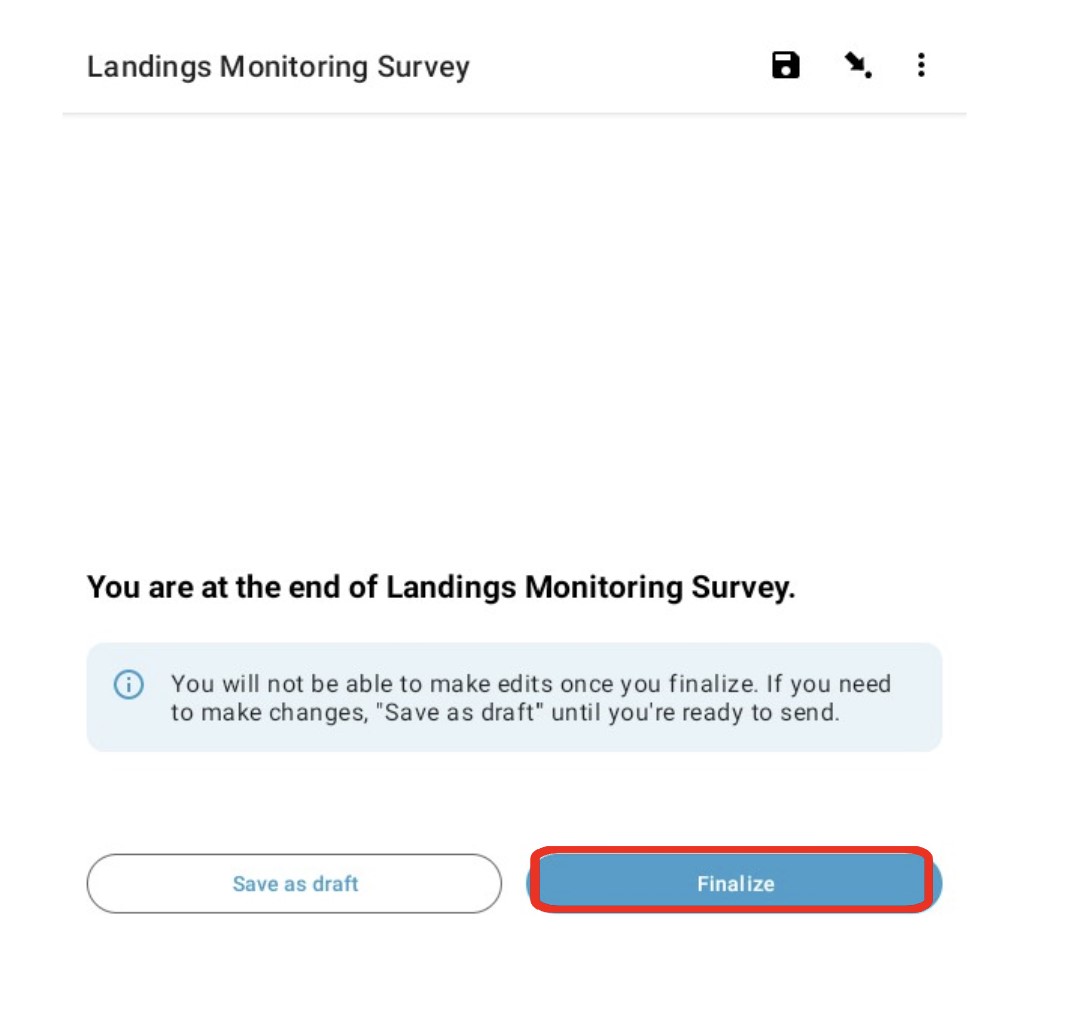
At the end of the survey, select “Finalize.” If you want to edit the form before submitting, select “Save as draft.”
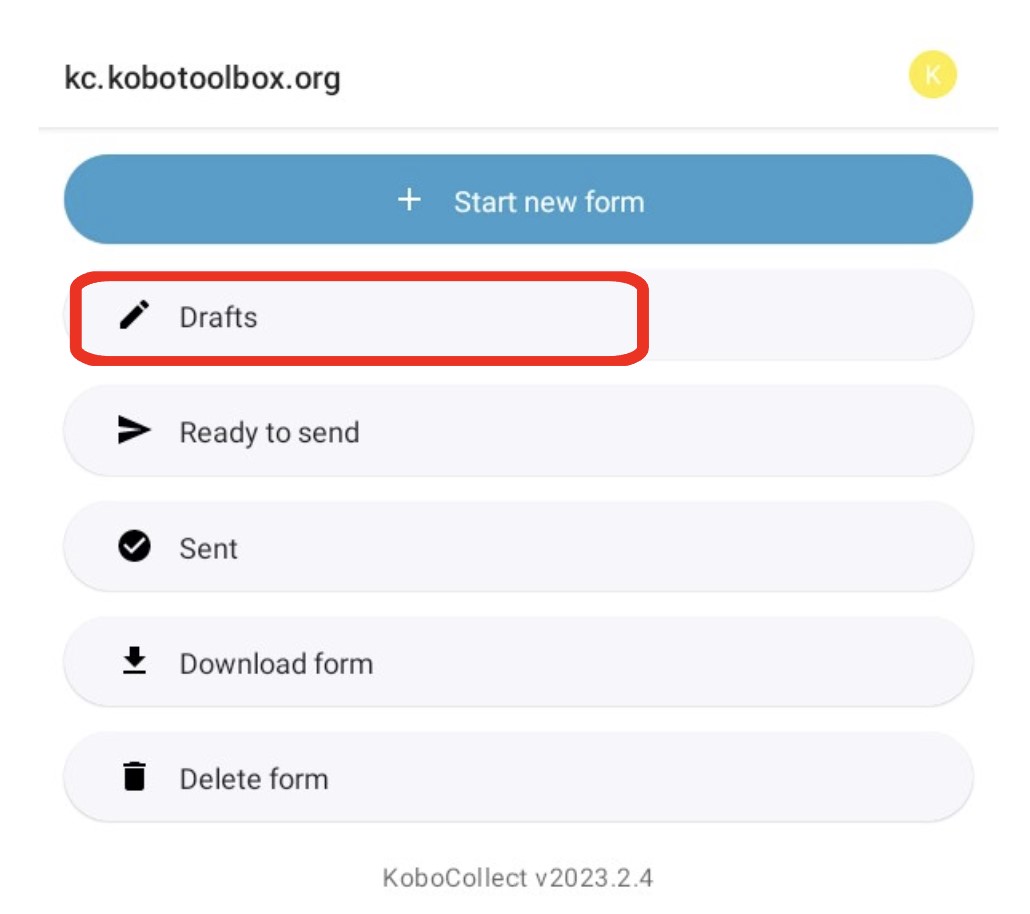
If you selected “Save as draft,” your form will be sent to “Drafts.” Here, you can make edits to forms before you submit them to the final dataset. After you make changes, select “Finalize,” like in step 17.
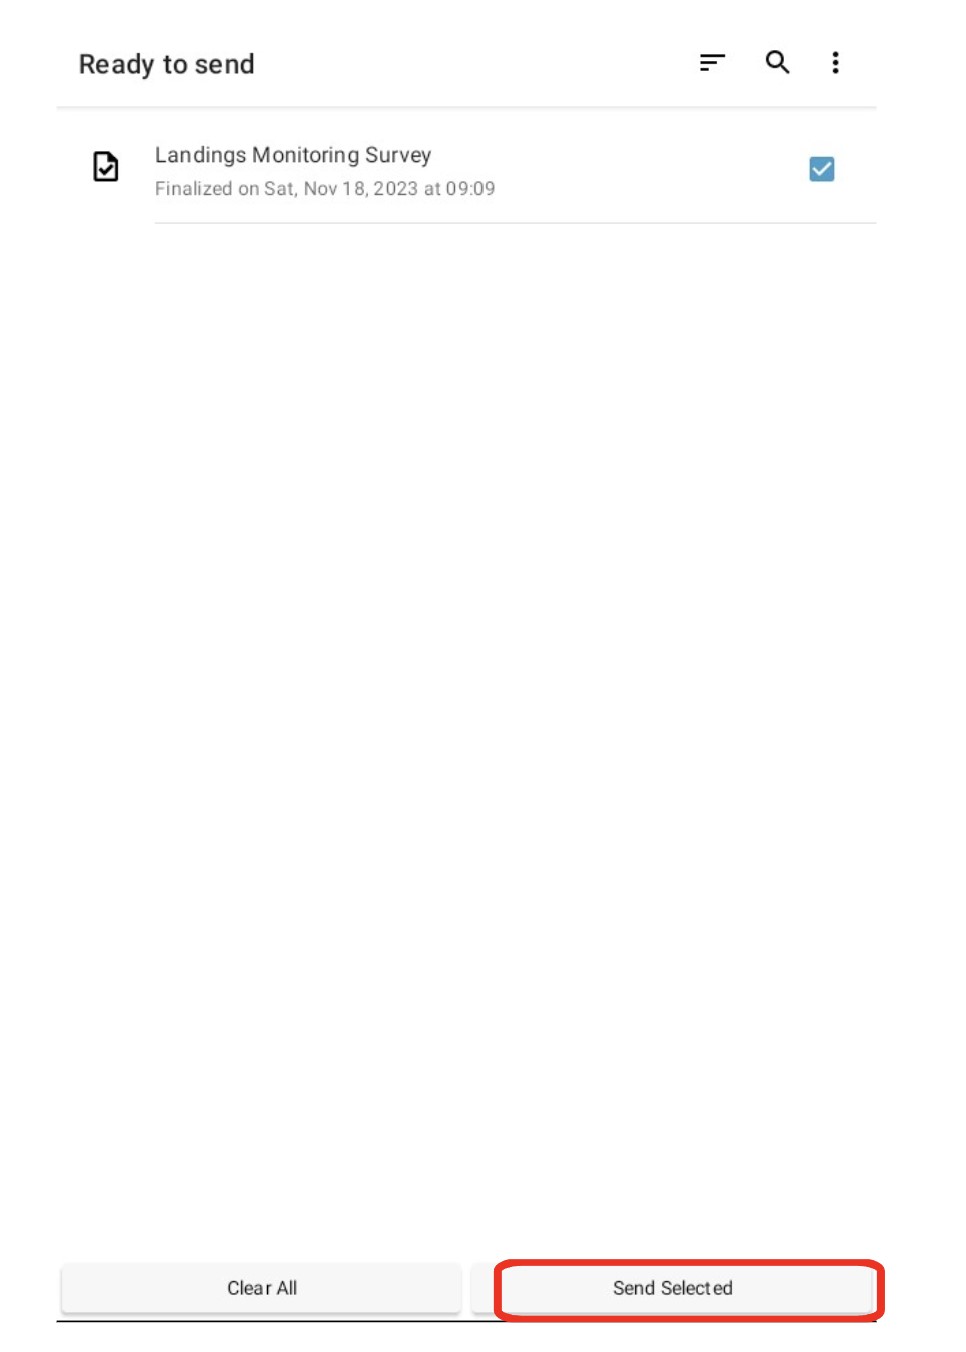
After selecting “Finalize,” the form is automatically stored under “Ready to send.” In the current version of Kobo, you can still edit forms here. In the future, however, you will not be able to edit once they are finalized, and “Ready to send” will just be a holding place to store finalized forms until you have an internet connection to send them to the server.

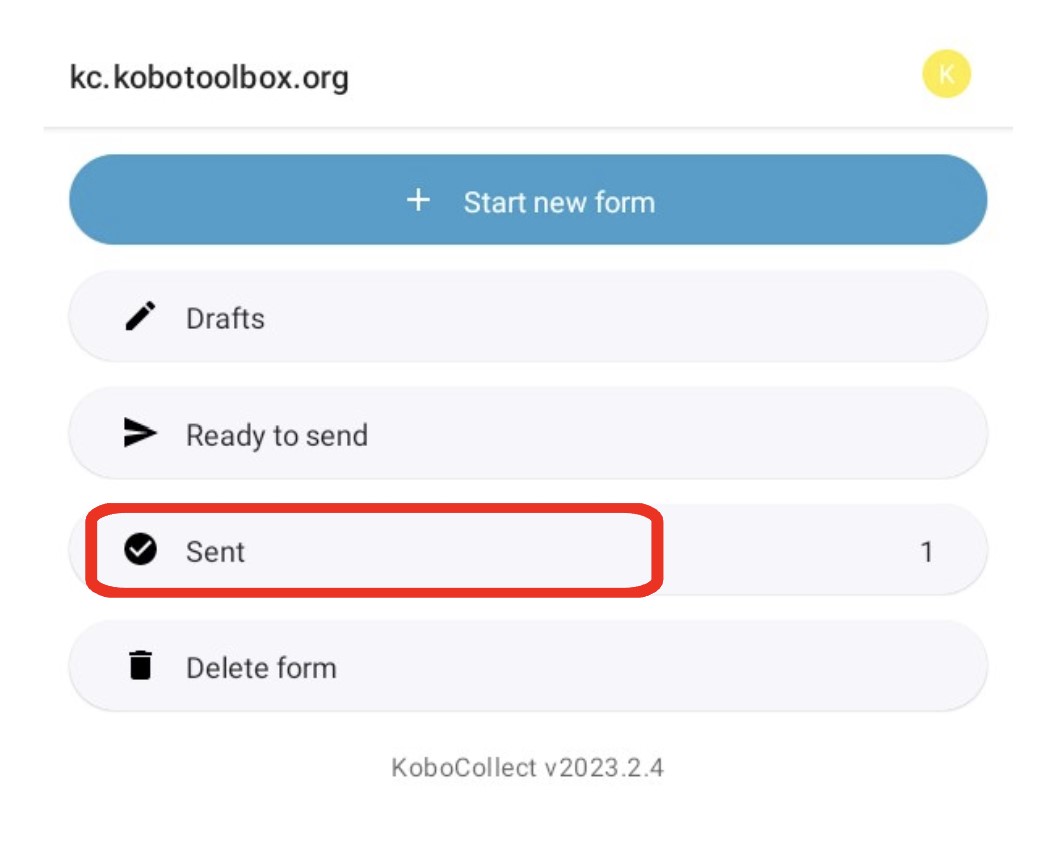
Select “Send selected” to send all forms to the server.
To ensure the forms were uploaded successfully to the server, select “Sent.” These forms are now part of the final dataset.